
Whether you're setting up at a school open house, a community fair, or a conference expo floor, a Drone Soccer demonstration follows the same pattern. There is a series of boxes that need to be checked before, during, and after to put on a great show, and the fundamentals don't change regardless of how long you're running, how many visitors you expect, or how many hands you have helping. A great demo starts with also managing expectations before planning begins.
Managing Expectations
Event hosts get excited. Some may think of the demo as a carnival attraction (a fun activity for kids with no intention of growing the sport). Others may say "the kids are going to love this and get excited about Drone Soccer," which is fine, but unfortunately kids and parents don't invest in Drone Soccer. Schools and organizations do. We know kids love the program and they have been loving it for years now. The priority is getting the attention of the right people: Administrators, CTE Coordinators, and Principals so they can bring it back to their program and share it with their students.
The other expectation to set early: visitors will not be playing Drone Soccer or experiencing the workforce development elements which is the core of the program. The full program is a 16 hour experience that includes building a drone, developing flying proficiency, forming a team, and building game strategy before the first match. None of that happens in a 4 minute battery demo. Make sure your venue host understands this before the event. The demo is giving people a taste of the challenge, not the full meal. If this is not clear, false promises can be made by the venue when they encourage people to come learn and play Drone Soccer.
Lastly, communicate up-front the recommended age is 12 and up. Anyone younger will struggle due to fine motor skill development. There are no assists, no sensors, and no auto-hover so precise control is critical. A first-time flyer will be lucky to pass through the goal once or twice if they are outstanding. but they will get a real feel for the skill involved, and that's the point.
-Equipment You Need
As a baseline, arrive with:
- Minimum 4 drones (flight-tested and ready)
- 30+ batteries (fully charged)
- 2–3 chargers
- Toolkit and spare parts (props, 1-2 motors, 1 receiver, and a flight controller per full day)
- Enough Safety glasses for active participants
- Safety sand bucket, tongs, and thick work gloves in case of battery fire
- Fire Extinguisher (recommended)
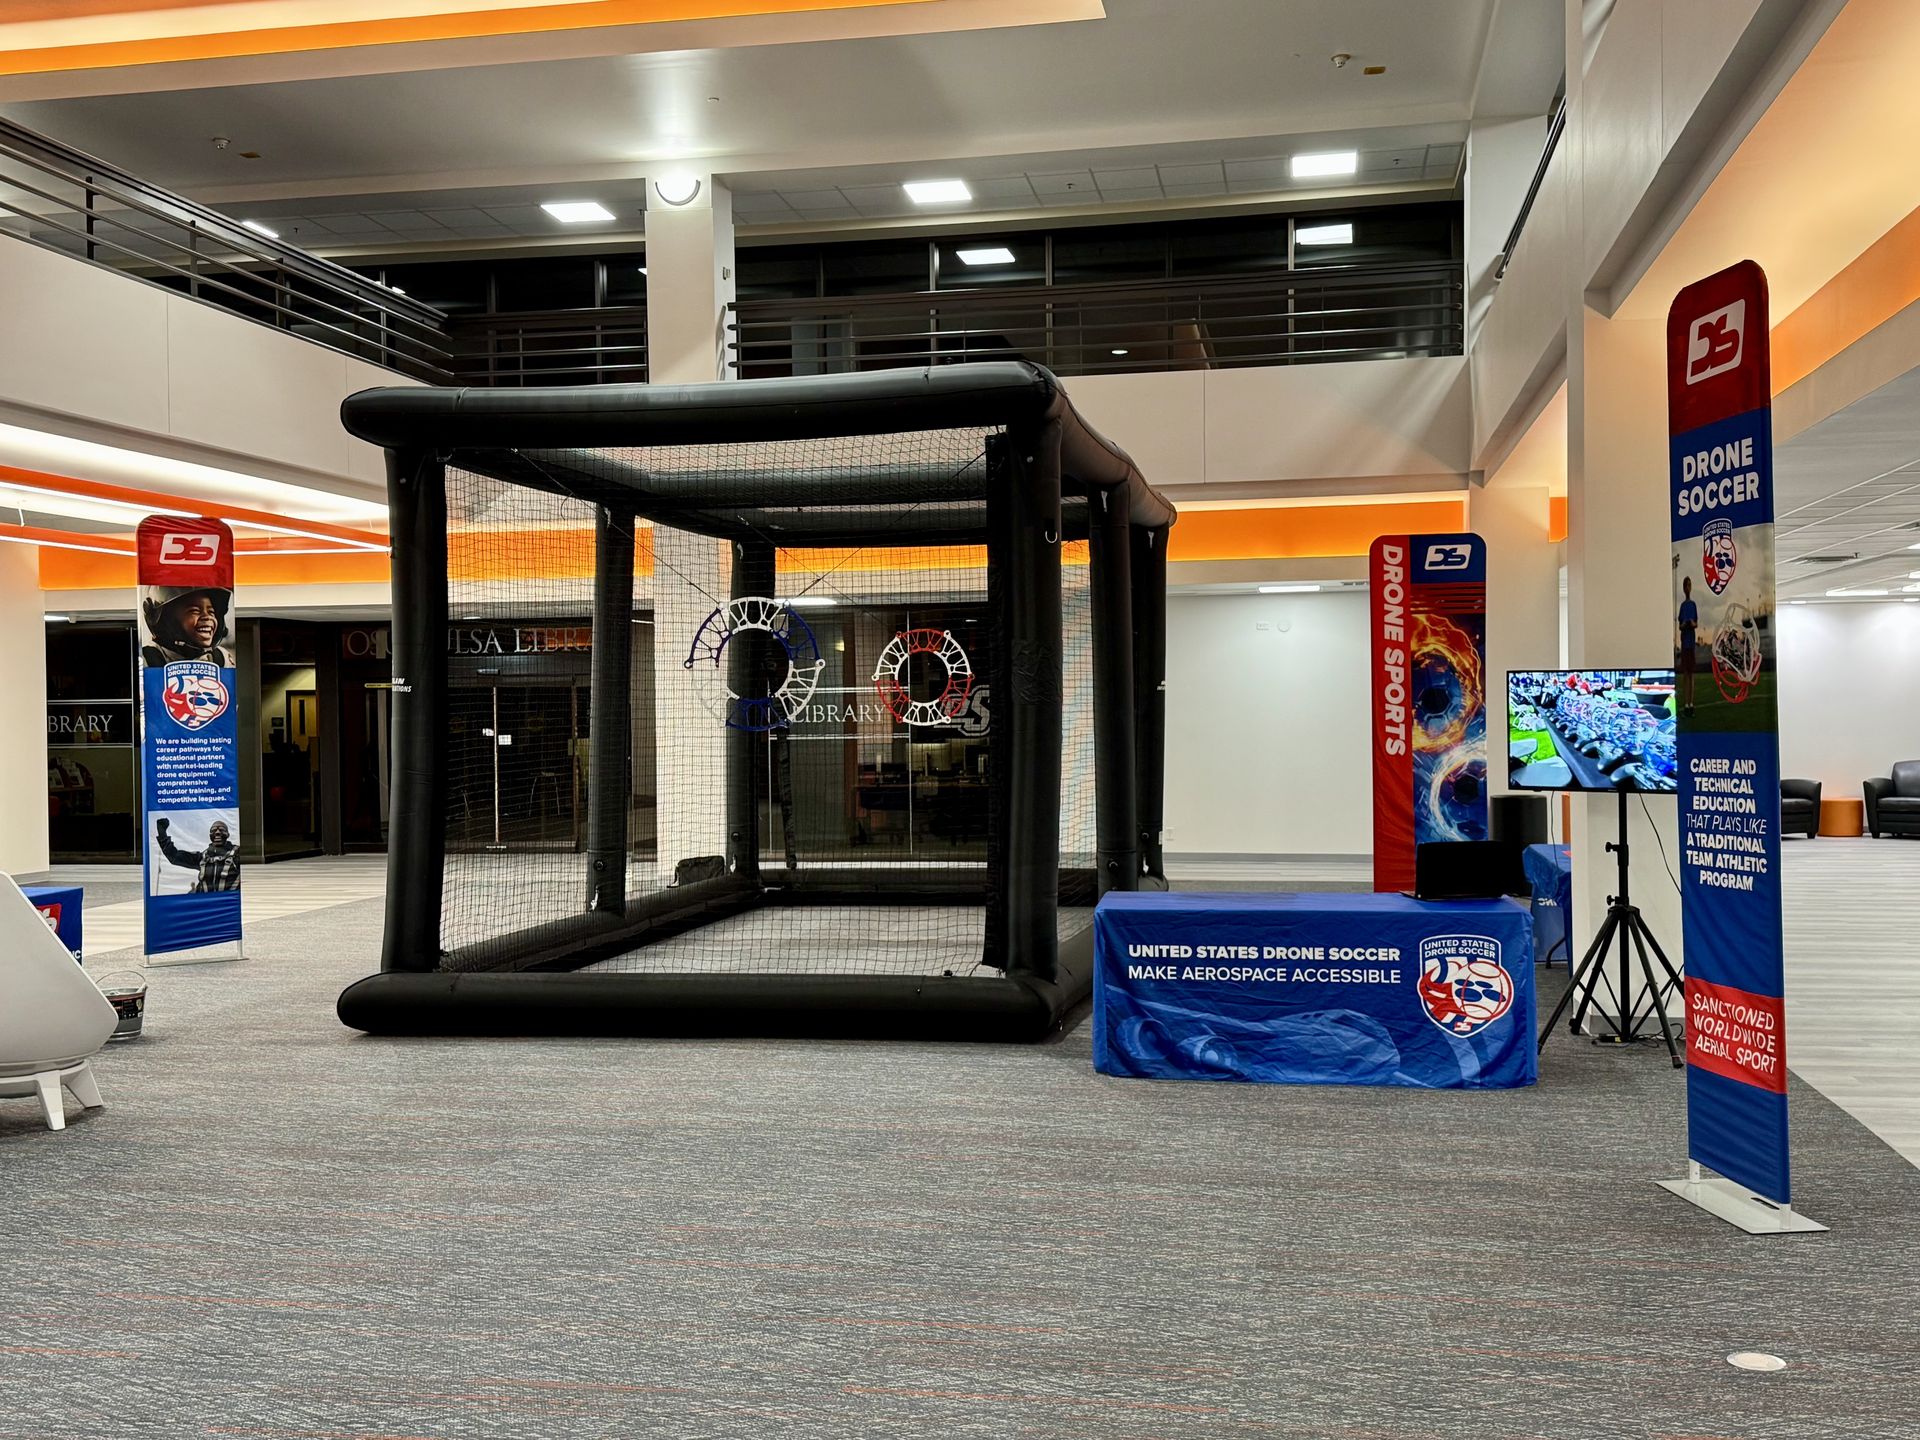
- Regulation arena with goal set
Bonus additions if you have them: a TV looping gameplay footage gives visitors something to watch while they wait and builds excitement before they step up to fly. Even better, a live team demonstration from a local team stops a crowd cold and is the single most effective recruiting tool you have if available.
1–2 Days Before the Event
This is where the real work happens, and is non-negotiable. In the 24–48 hours before the event, go through every single drone. Check screws, LEDs, calibration, binding, props, and do a full flight test on each one. This is your mission planning, your pre-flight. There is no time to troubleshoot once you arrive. Showing up for the demo means its go time. Nobody came to watch drones get repaired.
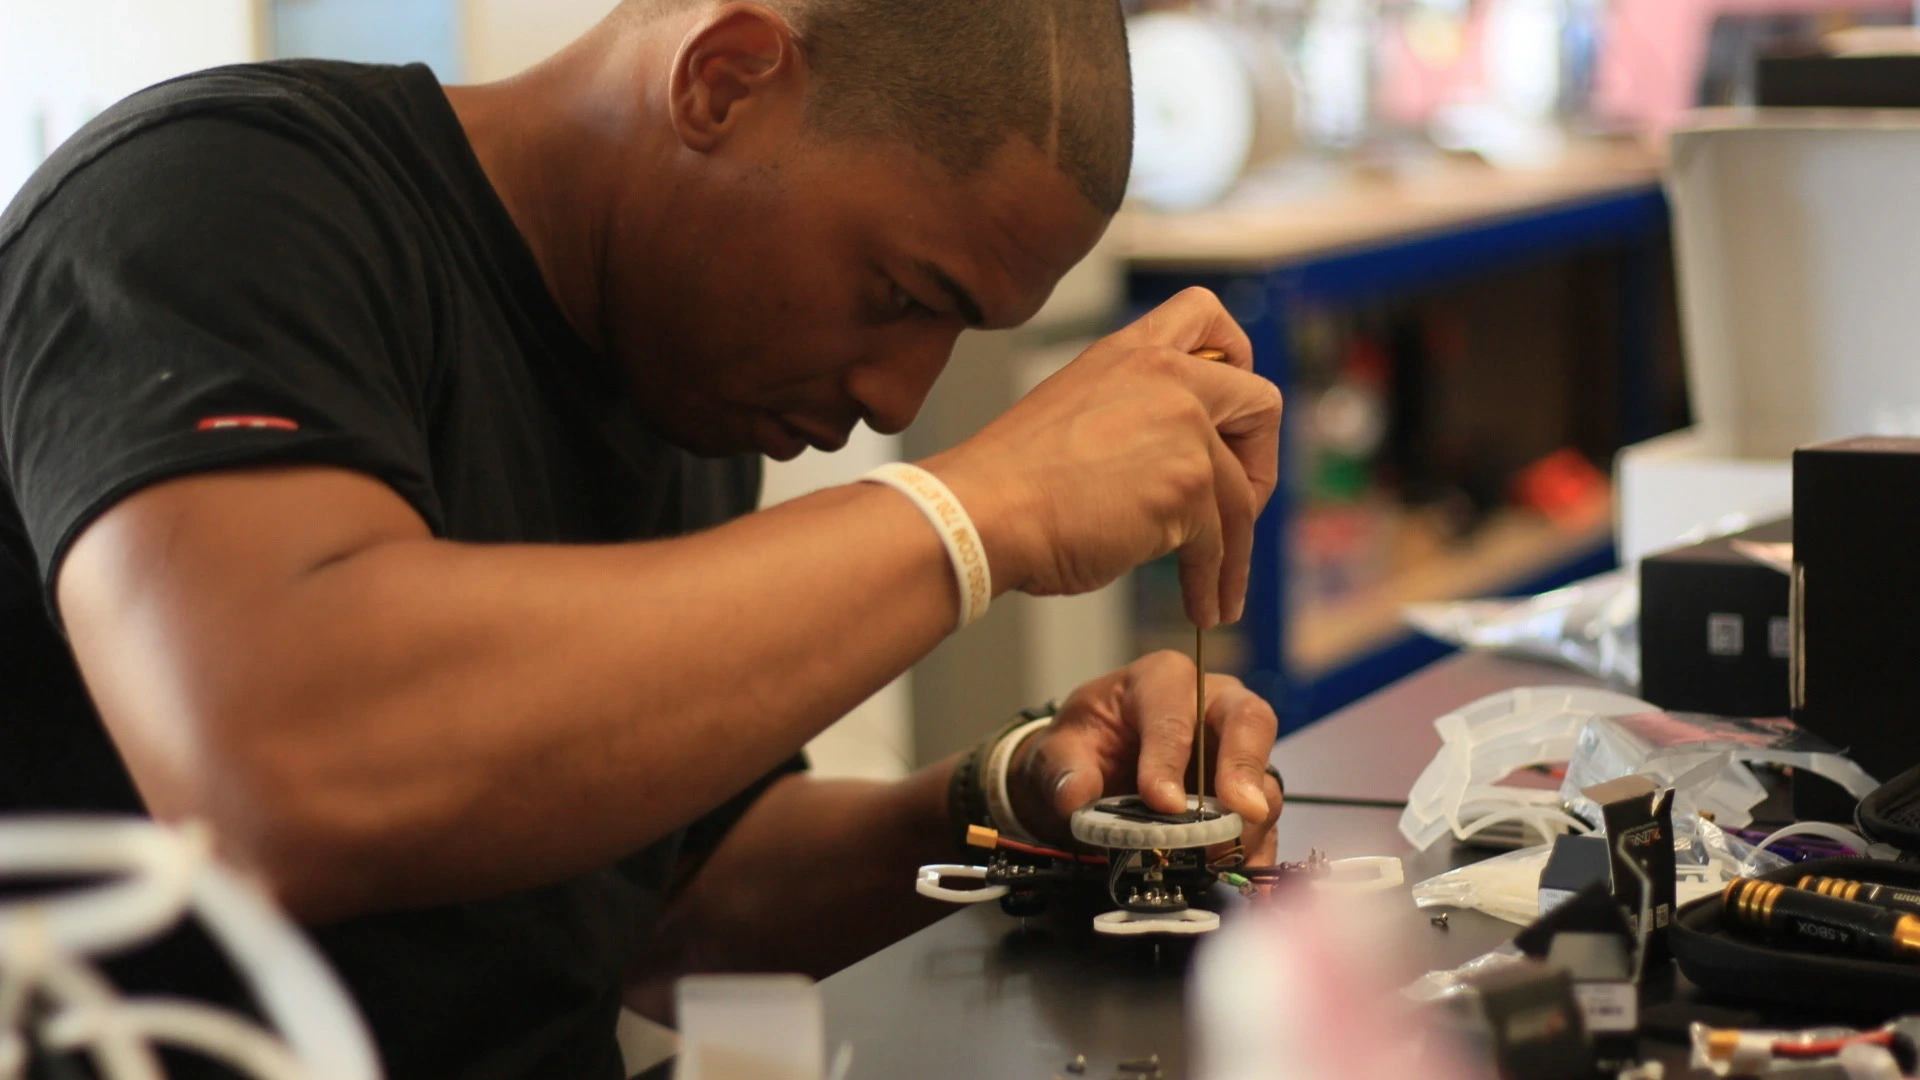
Confirm each drone is set to the beginner profile — Profile 1 and Rate Profile 1 selected in Betaflight. This limits throttle to 60% and pitch to 15 degrees. First-time flyers will not be successful at higher rates and competitive settings. The drones may need to be reset throughout the demo along with a calibration of the flight controller as it begins to drift from impact.
-Pre-flight Checklist:
- Does each drone hold a stable hover?
- Are there any unusual sounds during flight?
- Are radios labeled and matched to their bound drone? You should know at a glance which radio goes with which aircraft.
Batteries: Charge the morning of the event if possible. If the demo starts early and charging the night before is necessary, place fully charged batteries in the refrigerator as this helps them hold their fresh charge a little longer. Don't forget them there when you leave for the demo (this is a best practice to ensure success). This technique is effective but batteries should not stay refrigerated for more than a day. If you're outside that window, put them back to storage voltage and charge fresh when ready.
Day of the Event
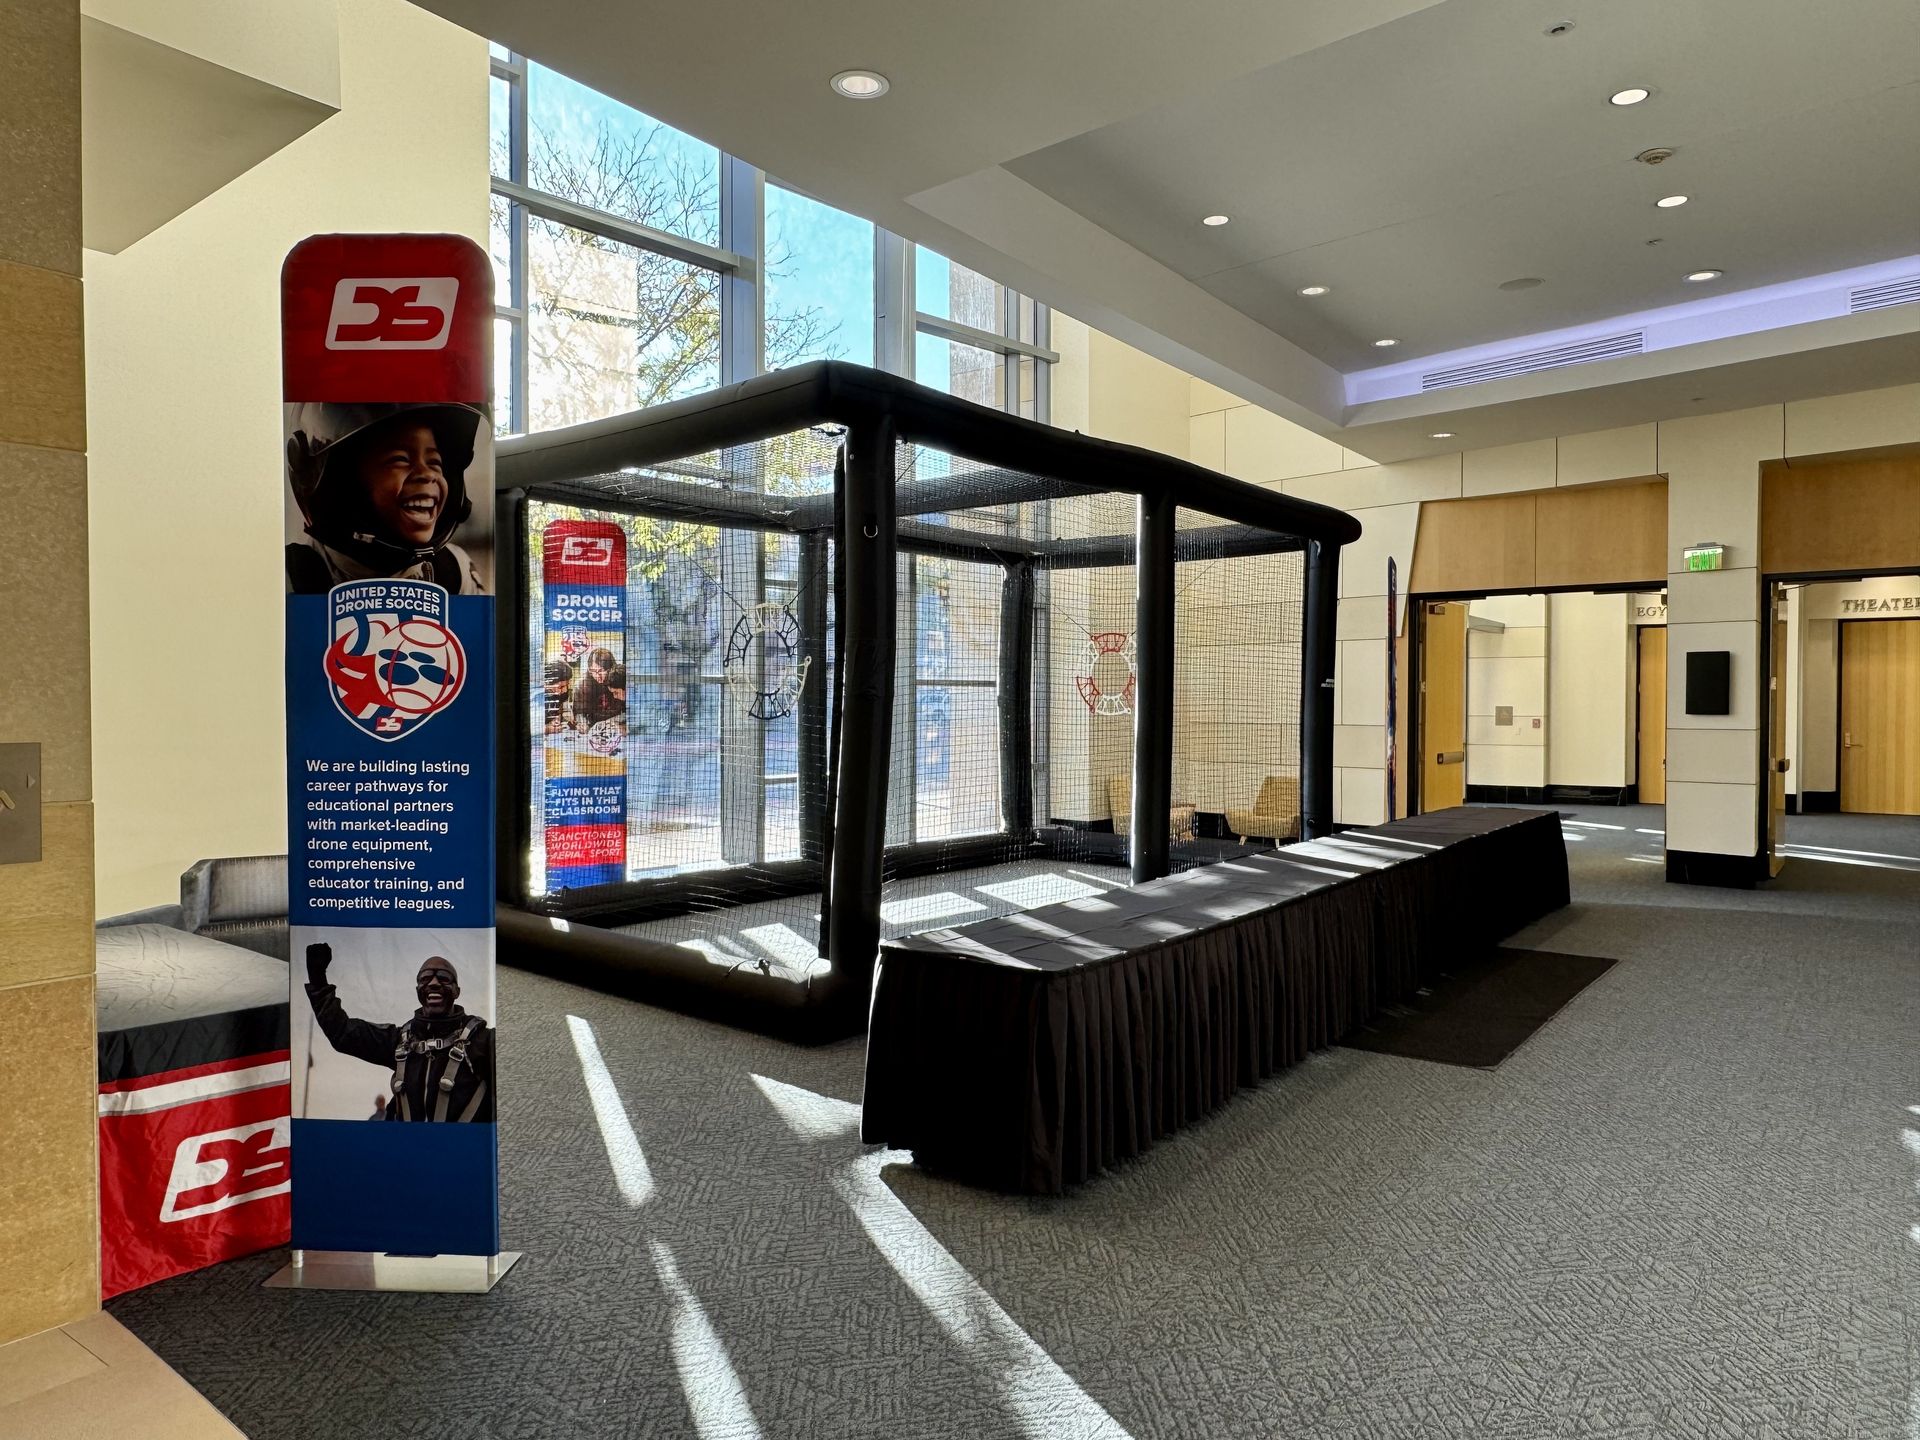
Plan for 1–2 hours of setup, especially if you're assembling an arena. Use that time to:
- Lay out each drone next to its bound radio
- Stage tables and safety glasses at the entry point
- Use tables or ropes to create a safety barrier
- Set up the battery charging area with clear separation between charged and used packs
- Brief your team on their roles: reception, instruction, and battery management
- During the Demo
Start with one drone per instructor. Until you have a feel for the crowd flow and your team's rhythm, one-on-one instruction is the safest way to manage quality and safety.
Your instructors carry the event. They should be watching the flight at all times, offering quiet coaching, and ready to step in immediately if:
- The drone exits the arena
- The battery falls out
- A safety issue begins to develop like a battery fire or people inside the cage
Instructors handle the drone, swap batteries, and call for the landing or disarm if anything goes sideways. These situations escalate fast. Your instructors need to be watching for them before they happen, not reacting after.
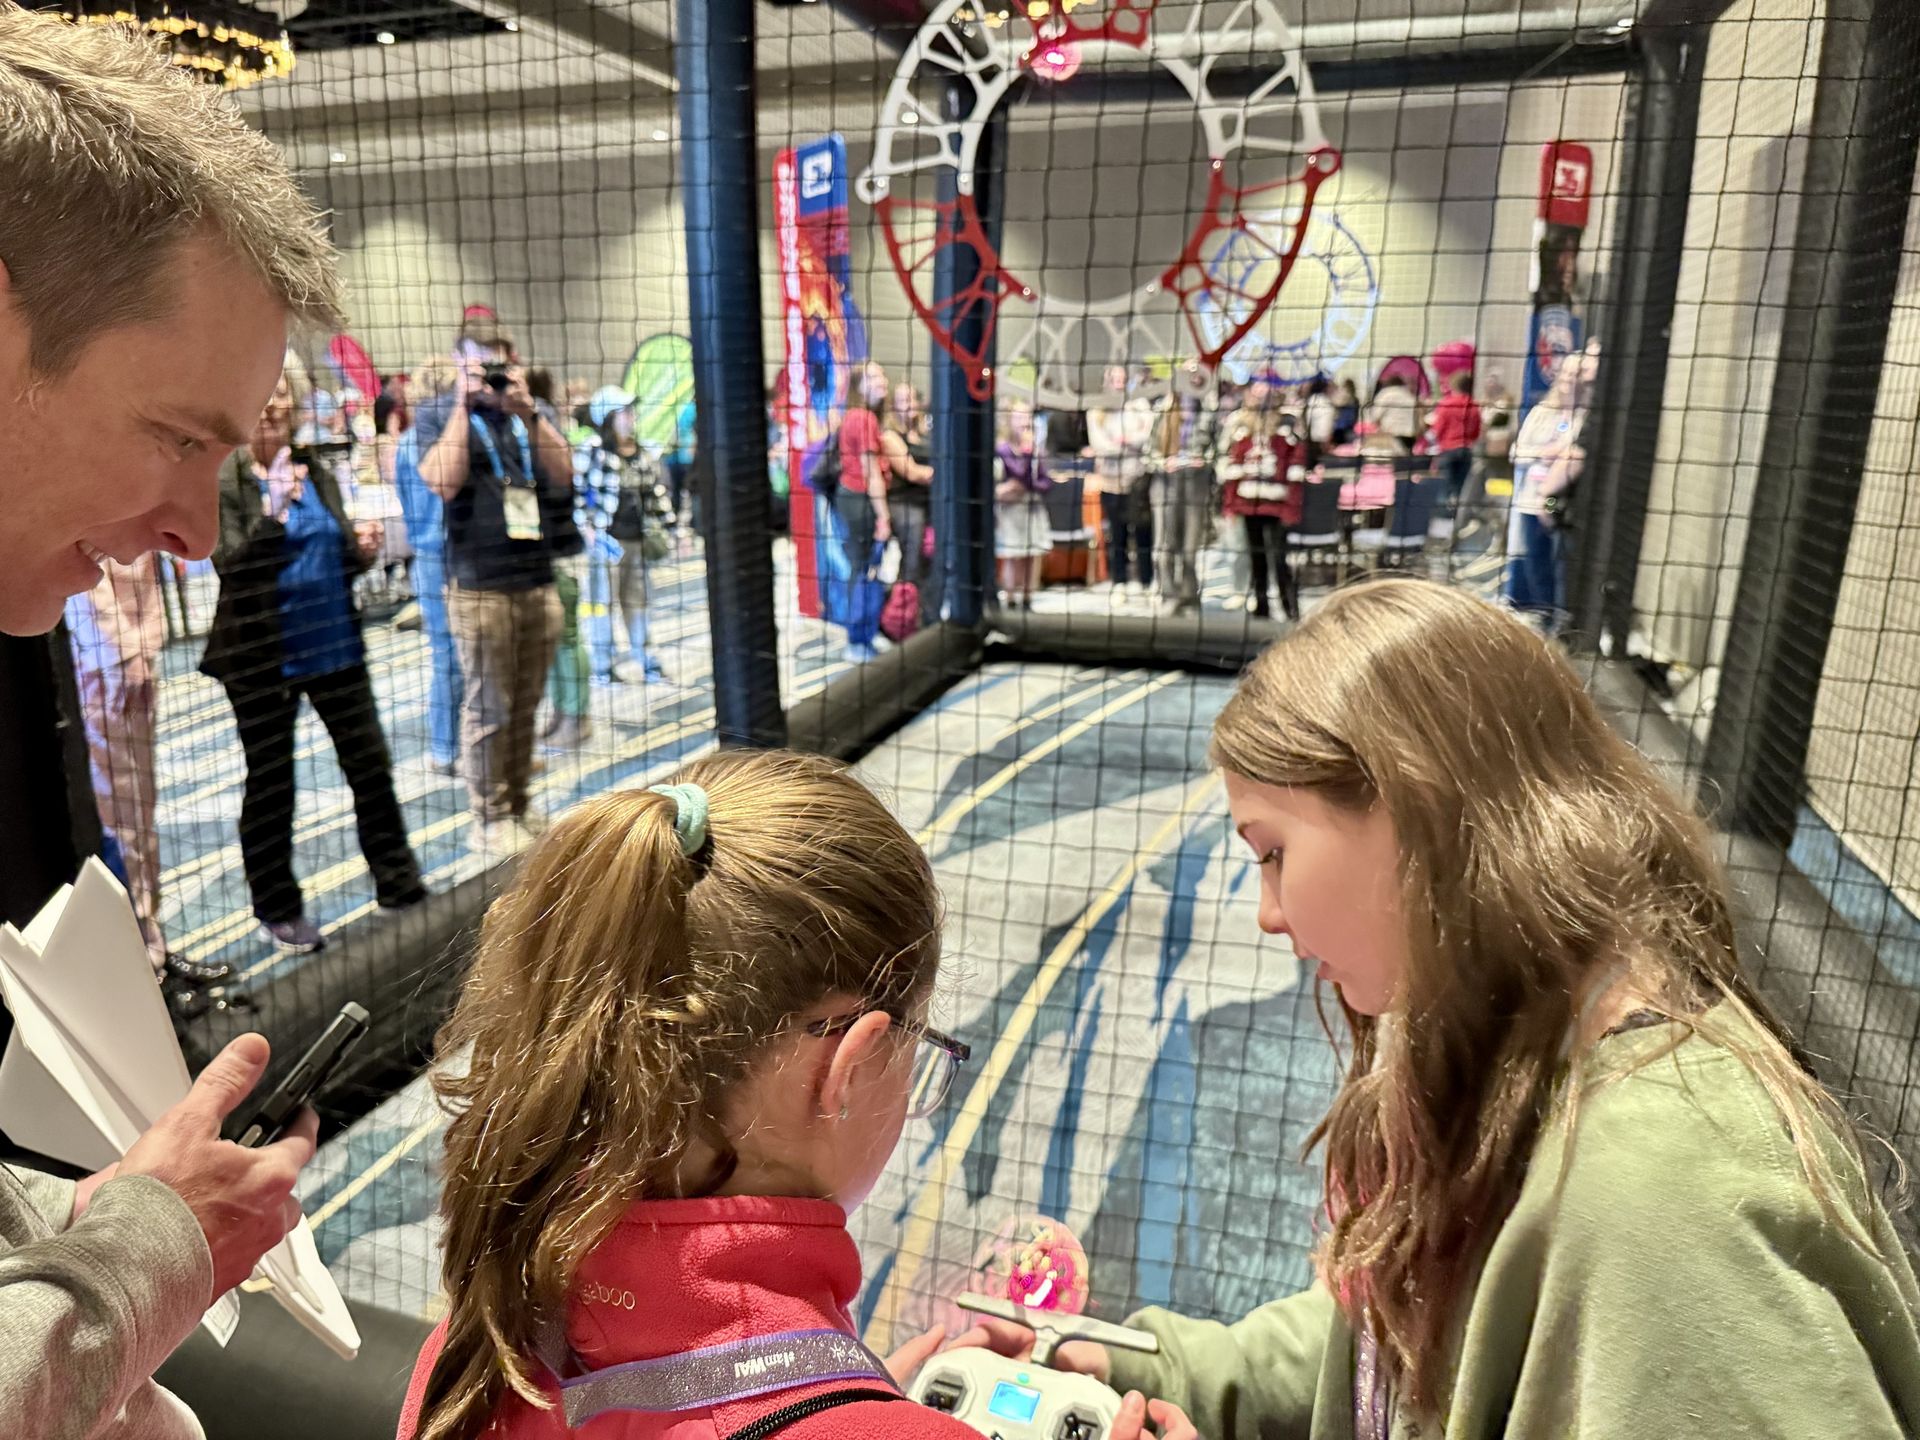
Battery rotation is a constant background task. Running 2 drones simultaneously requires a steady hand-off between charging and flying. Running 4 at once requires 30+ batteries and 4 or more chargers running continuously. It is also at this rate that drones will start going down for maintenance. It is not if, but when. If an instructor can step away to make a quick repair, great. If not, swap in a spare or reduce the total drone count and keep the line moving. Duration of the demo and number of spares on hand will determine your strategy.
-Managing the Line 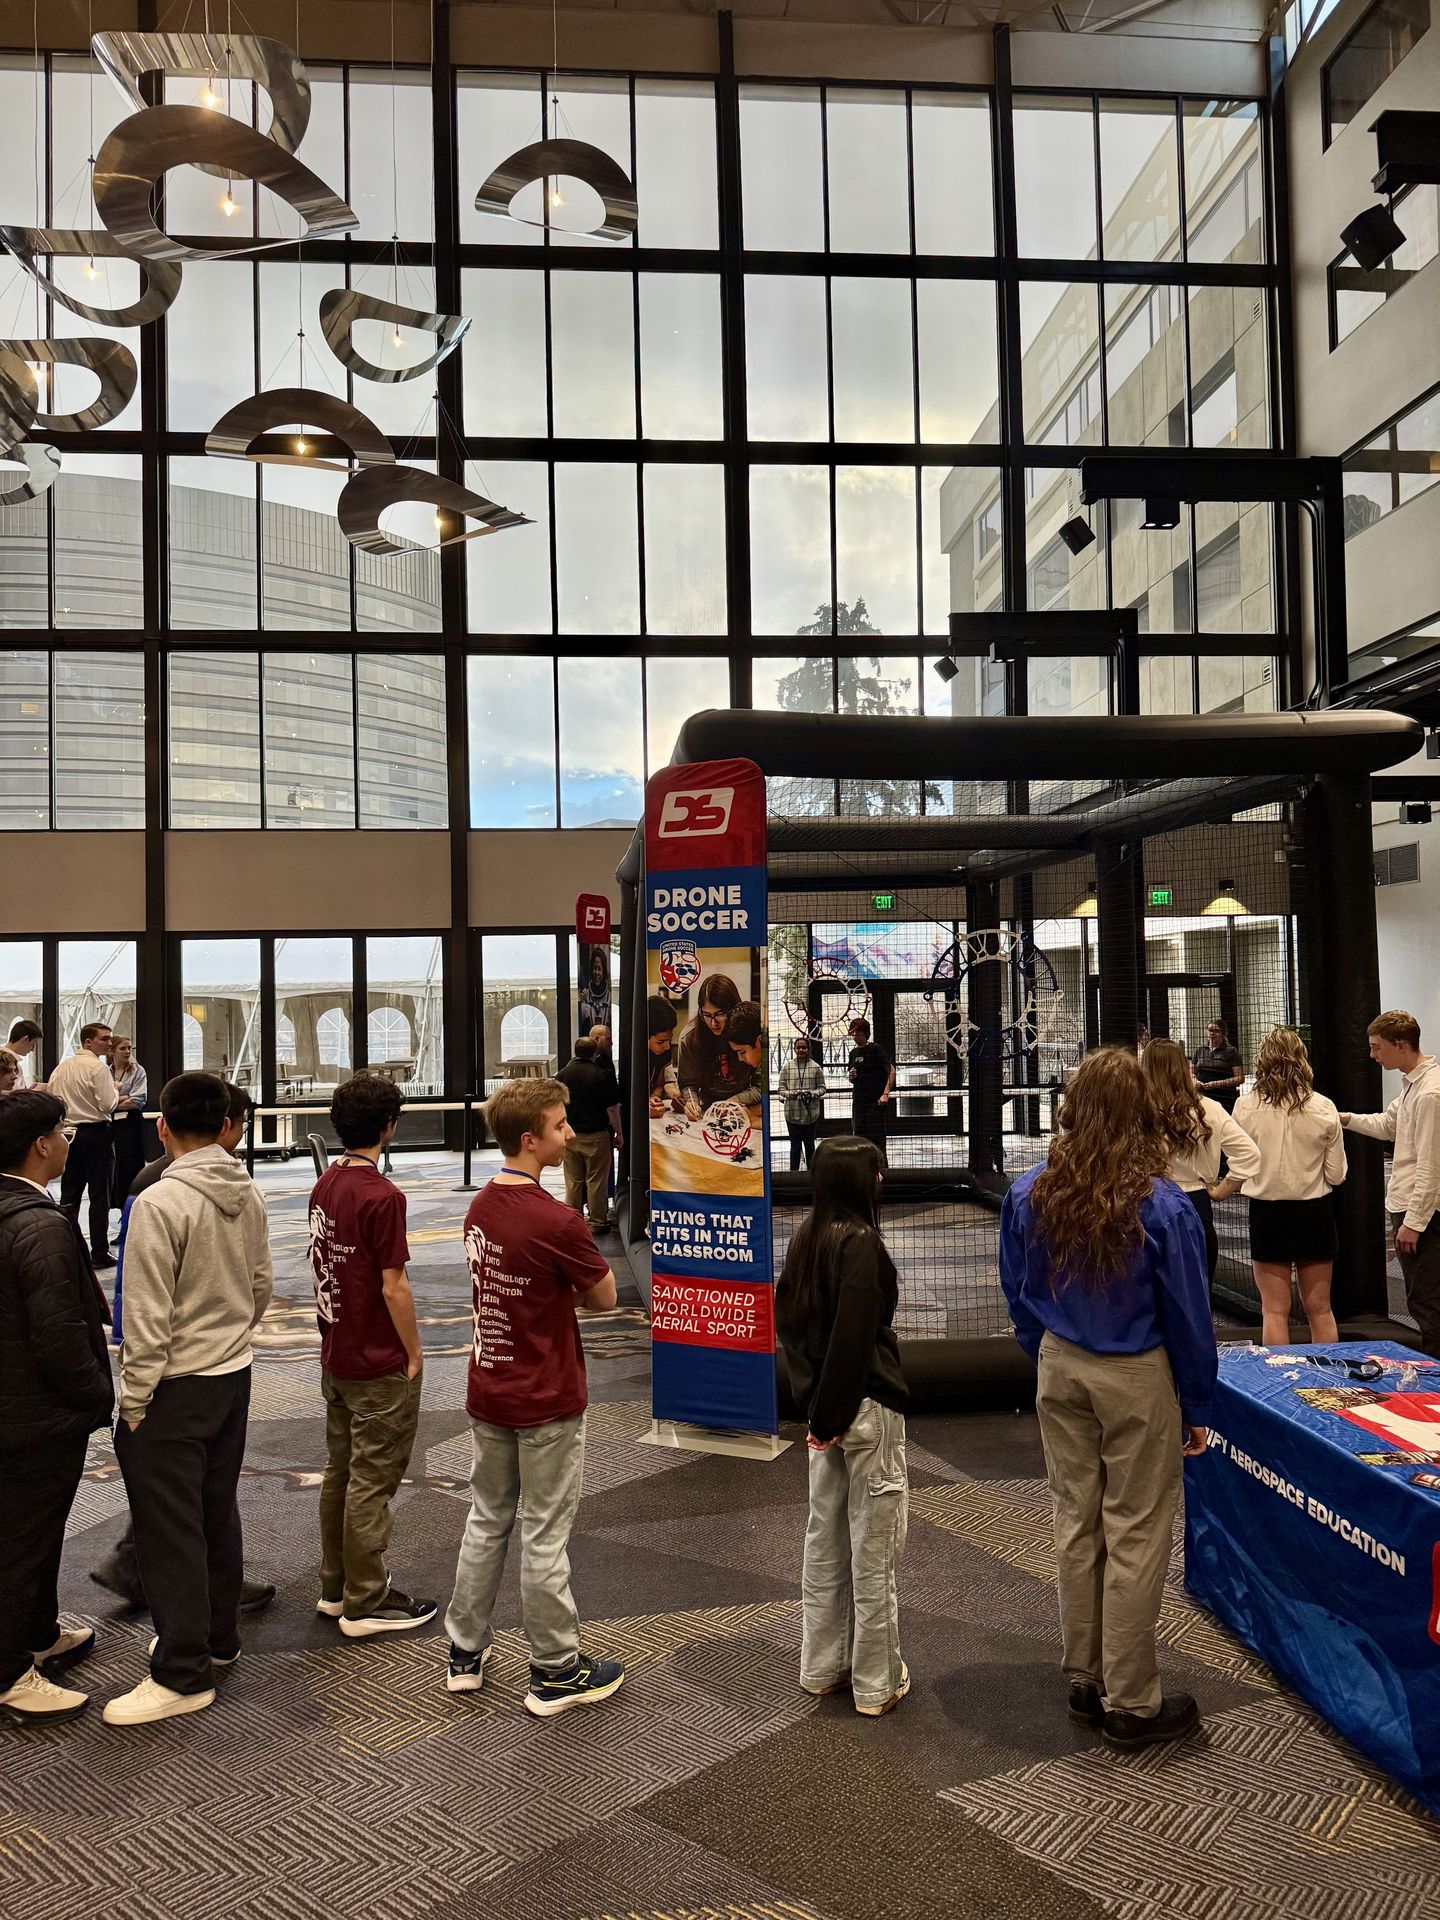
A good demo attracts a crowd. When the line gets long or your battery supply starts running low, move to two participants per drone. Cut the flight time to about two minutes, but now you're teaching two people at once. This works surprisingly well — especially when they are friends or family members. They tend to coach each other and keep the energy high. The reduction in learning quality is minimal, and the increase in throughput is significant.
After the first 10–15 minutes, whether it's just you or a team of five, everyone settles into their role. After that it's a treadmill. get as many people through as possible, keep the energy up, and let your enthusiasm and experience do the talking.
After the Event
Before you pack up, take stock of what you used and what broke. Note which batteries need to go back to storage charge, which drones need attention before the next event, and which spare parts you burned through. Plan to restock before your next demo.
Follow up with any administrators, educators, or decision-makers who showed genuine interest. The best outcome of a demonstration is not the student who flew the best, it's the teacher who walked away asking how to bring it to their school.
Looking for the fastest way to teach a first time flyer in 5–10 minutes? The rapid teaching method designed to give every participant the best chance at success in the shortest possible time will be covered in a follow-up article. Link coming soon.
Questions about equipment or demo setup? Contact us at dronesports.us or reach tech support directly through the eLearning portal at learn.dronesports.us.